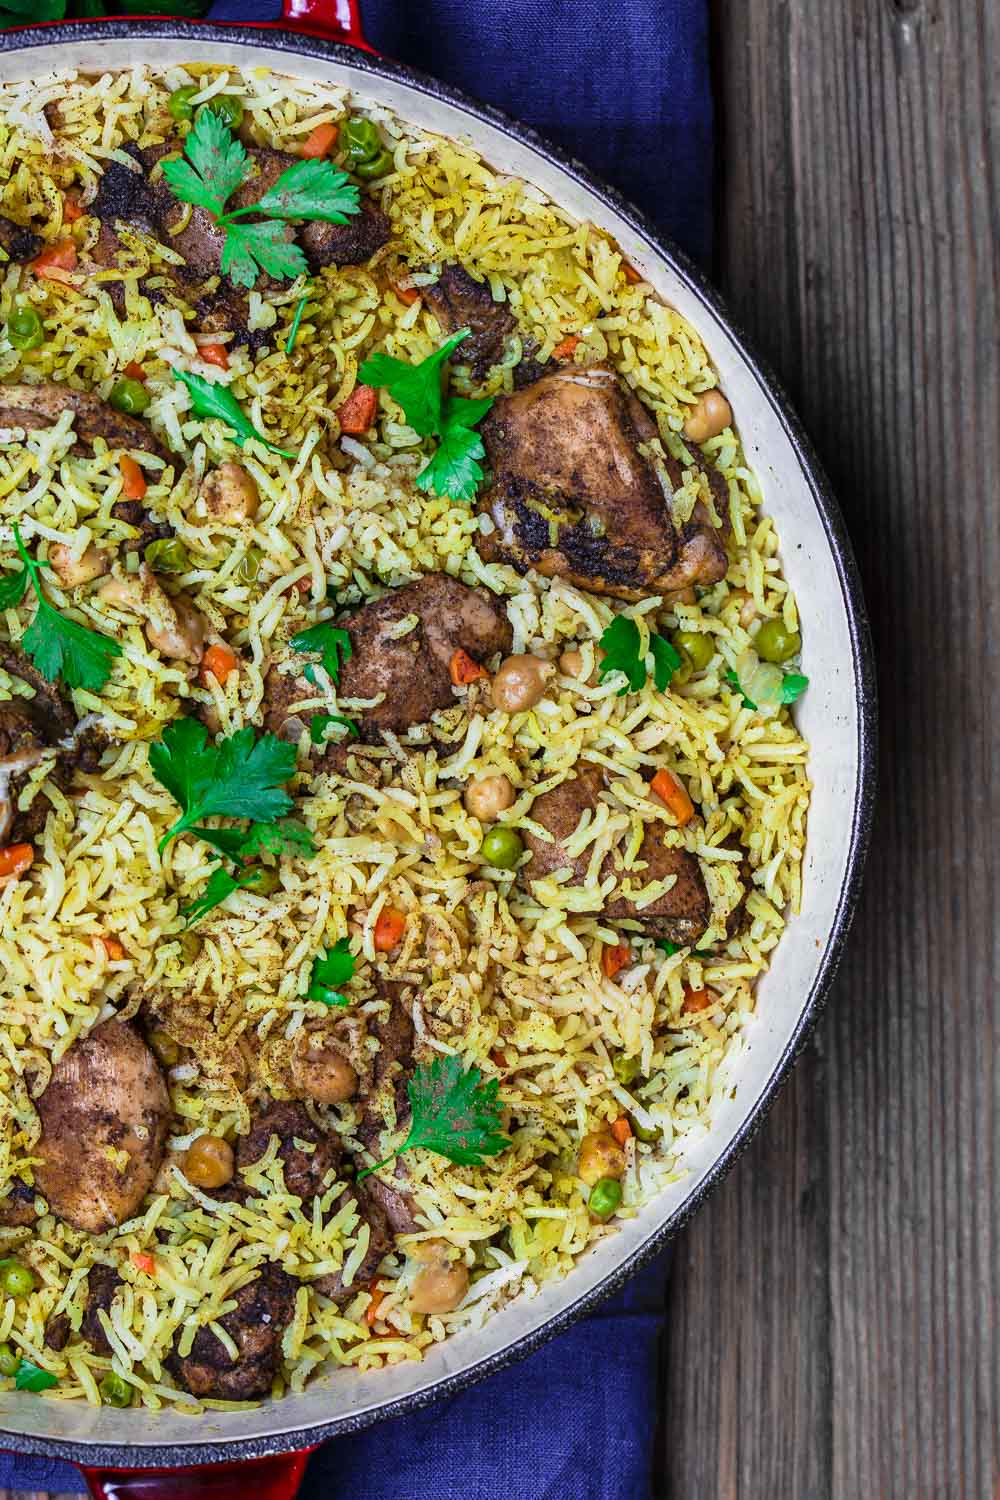
This easy chicken sheet-pan supper brings bold, warming flavors with minimal fuss. Tossed with ras el hanout, the chicken roasts alongside potatoes, sweet peppers and chickpeas, creating a richly flavored dish that practically makes its own sauce. The sheet pan may look crowded, but everything melts beautifully together as it cooks. The peppers, potatoes and chickpeas simmer gently in the oil, while the chicken sits halfway in, its skin staying crispy as the juices mingle below. Any chickpeas peeking out get delightfully crisp, while the rest confit in the oil, becoming soft and smooth. A finishing drizzle of sherry vinegar adds a bright, tangy kick, balancing the warm spices and bringing out the dish's deep roasted flavours. Best of all, the prep is simple, and the oven does the rest, making this perfect for a cozy midweek dinner that still feels special.
Directions
Heat the oven to 375 degrees.
Season the chicken with the ras el hanout, 2 teaspoons of salt and a good crack of black pepper on a 13-by-18-inch sheet pan and leave to marinate for 10 minutes.
Add the potatoes, chickpeas, tomatoes, peppers, garlic, oil and 1 tablespoon of the vinegar, and gently mix so that everything is coated with oil. Spread the mixture as evenly as possible across the baking sheet and set the chicken on top, skin-side up.
Bake for 30 minutes, then give the pan a gentle shake to encourage everything into an even layer. Cook for another 35 minutes, until the chicken is tender and well browned.
Use tongs to squeeze out the garlic cloves, discarding the papery skins. Use a fork to crush the tomatoes and the garlic cloves, then loosely mix them into the sauce. Sprinkle with the cilantro, mixing it in as well. Drizzle over the remaining 1 tablespoon vinegar before serving.
Chef's Notes
- Use a 13-by-18-inch sheet pan for this recipe.
- The sheet pan may look crowded, but everything melts beautifully together as it cooks.
- Any chickpeas peeking out get delightfully crisp, while the rest confit in the oil, becoming soft and smooth.
- The chicken skin stays crispy while the juices mingle below with the vegetables.
- Safety Note: Cook chicken thighs to 74°C/165°F internal temperature. Peel and wash potatoes thoroughly. Wash tomatoes, peppers, and cilantro thoroughly. Rinse canned chickpeas thoroughly. Prevent cross-contamination by washing hands, utensils, and cutting boards after handling raw chicken.


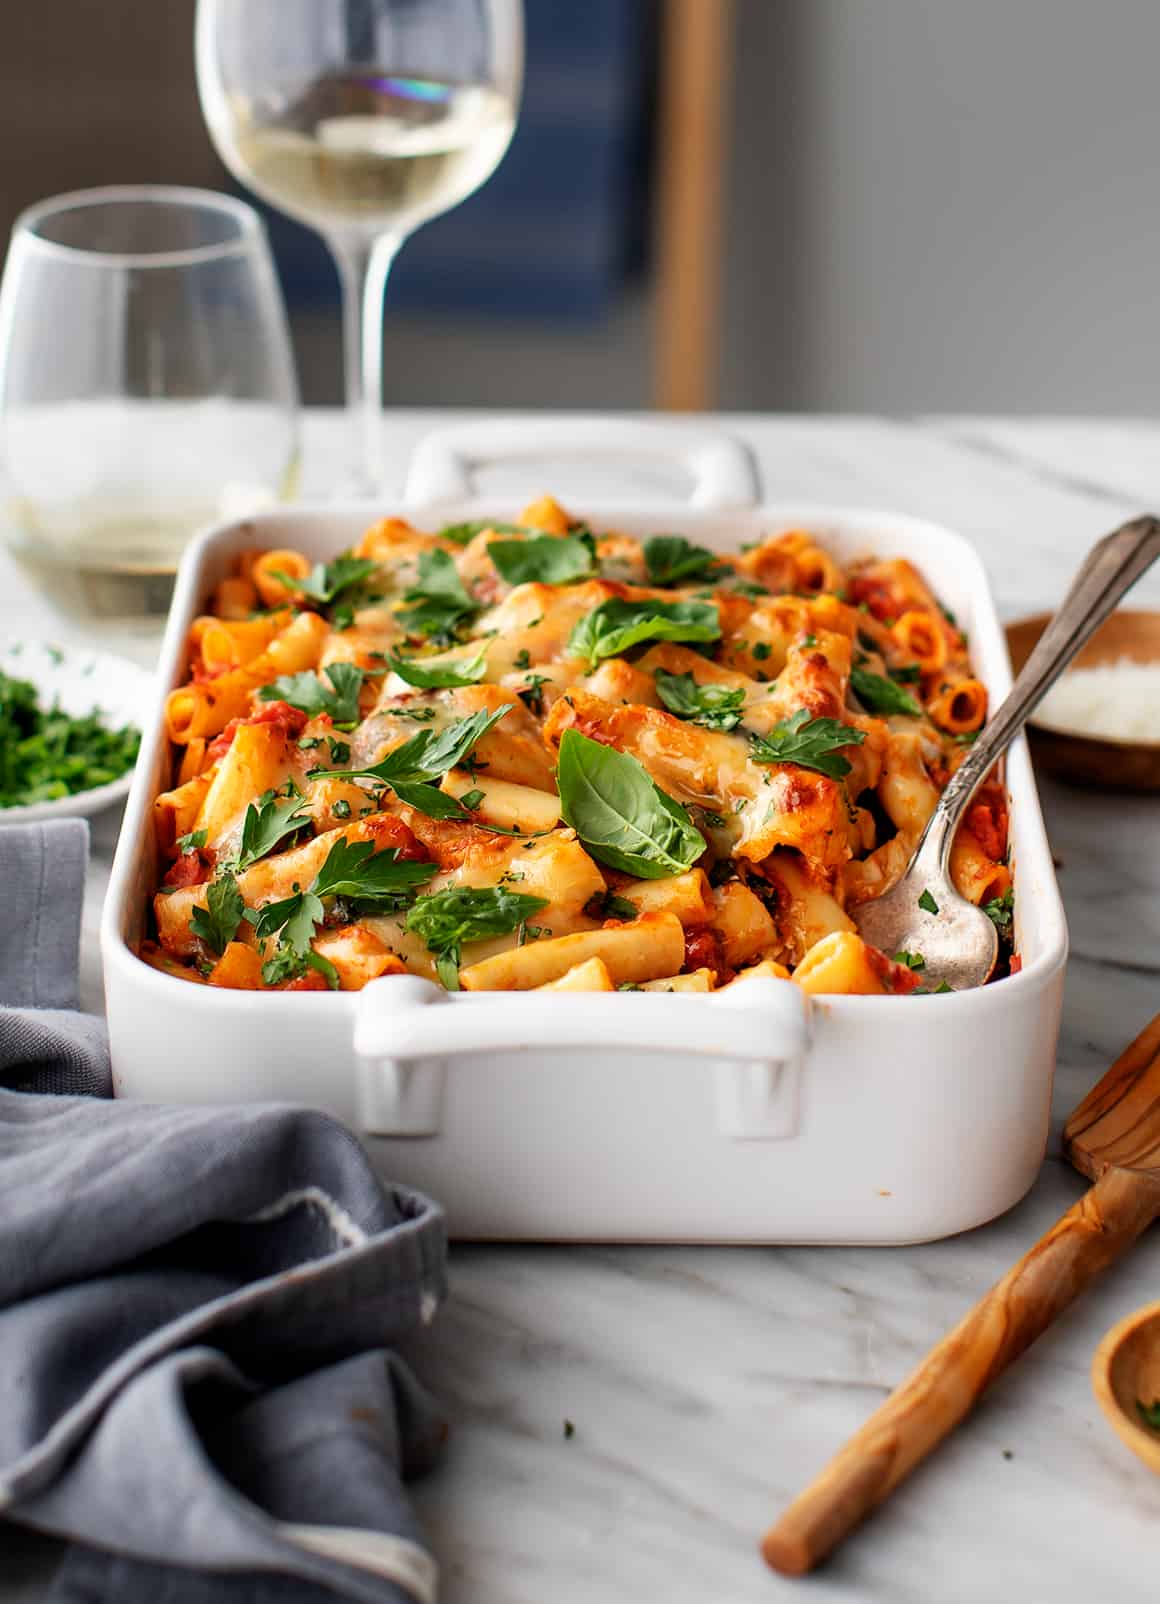
:max_bytes(150000):strip_icc():format(webp)/__opt__aboutcom__coeus__resources__content_migration__simply_recipes__uploads__2018__07__Greek-Pasta-Salad-LEAD-VERTICAL-57d7b07e49734e4e9d4d590aadb18d99.jpg)


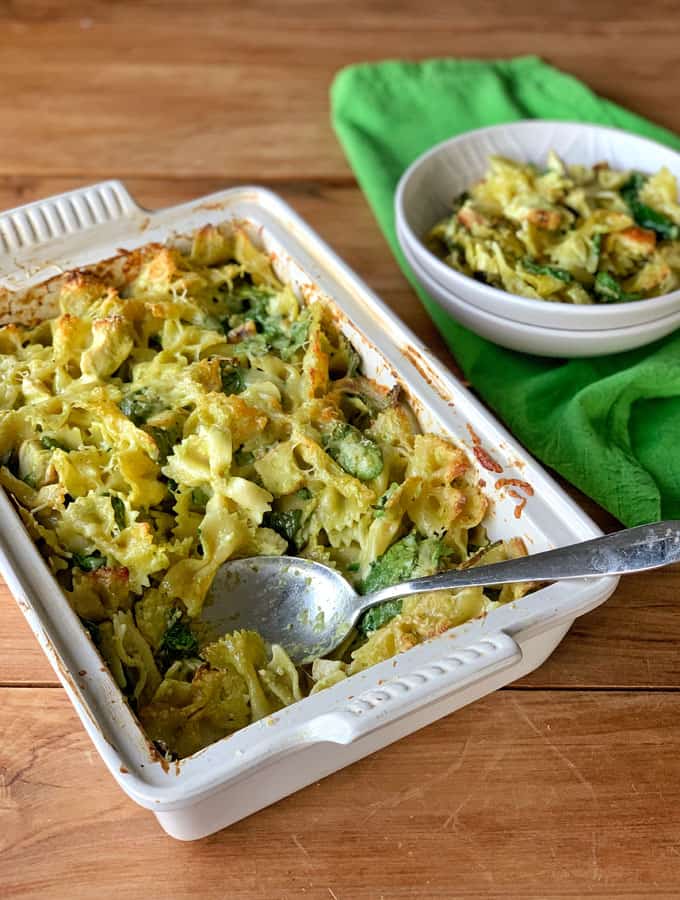


:max_bytes(150000):strip_icc():format(webp)/spinach-artichoke-pasta-862ca25d22f6444ab704b1c9d839aee6.jpg)